
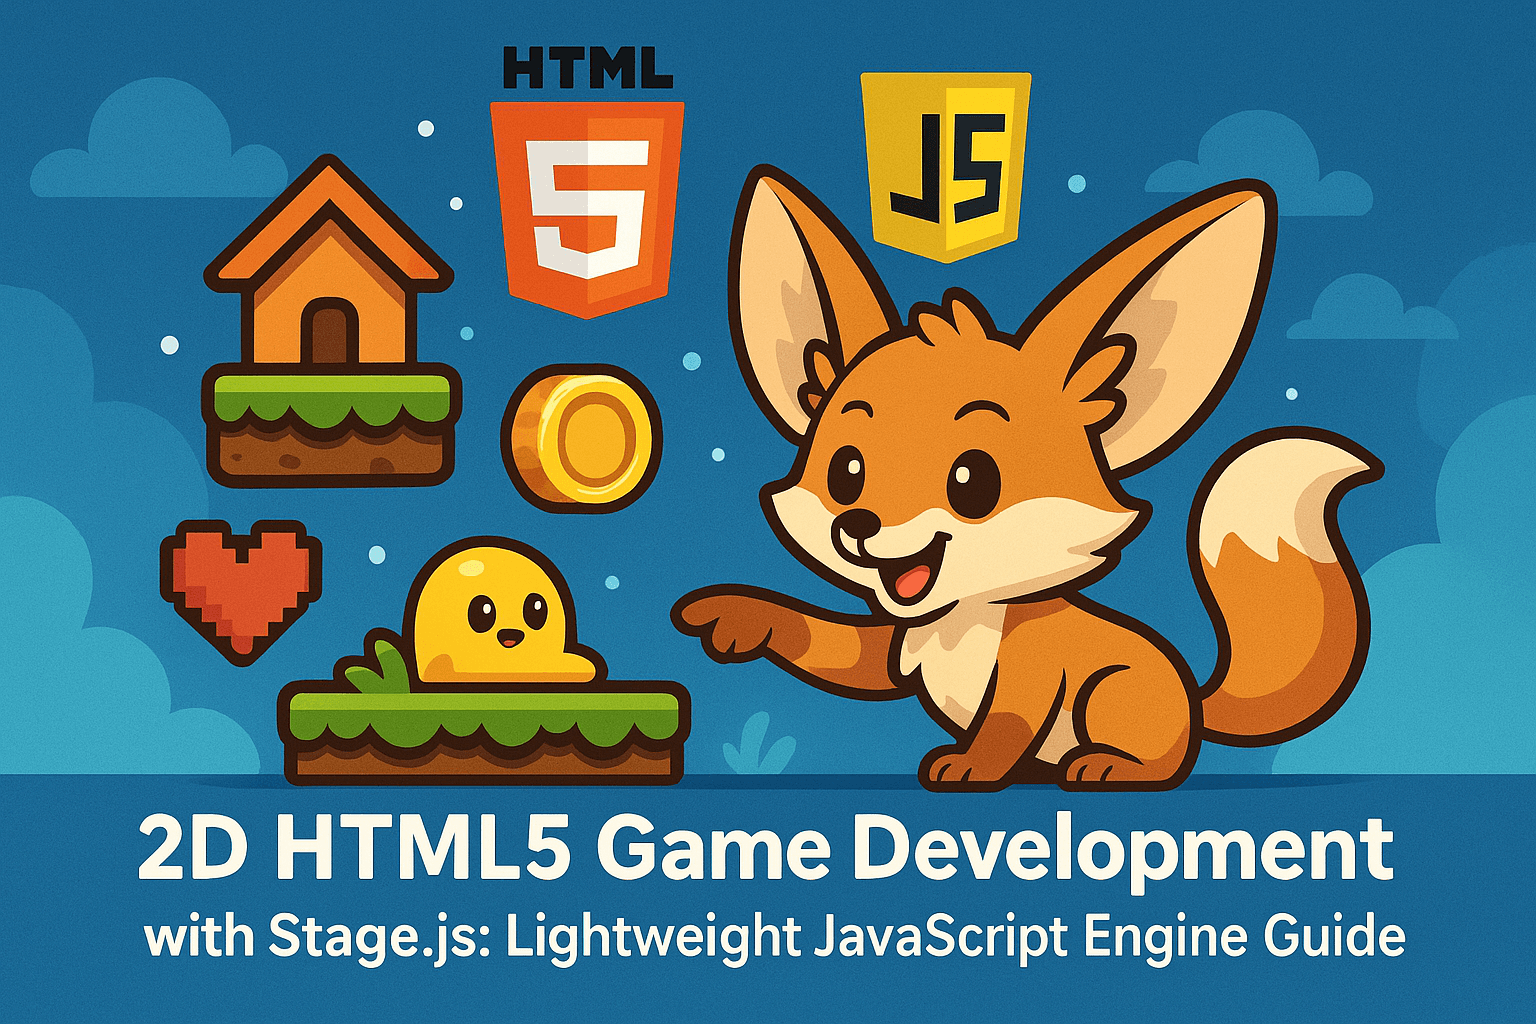
Table of Contents
- Exploring the World of 2D HTML5 Game Development
- Introduction to Stage.js: A Lightweight Game Engine
- Setting Up Your Development Environment for Stage.js
- Core Concepts and Features of Stage.js
- Step-by-Step Guide to Building a Simple 2D Game
- Tips and Best Practices for Effective Game Development
- Resources and Communities for Further Learning
Who this article is for:
- JavaScript developers interested in 2D game development
- Indie game developers looking for lightweight game engines
- Beginners in game development seeking accessible tools and practices
In the landscape of 2D game development, lightweight JavaScript engines have revolutionized how developers approach browser-based gaming. Stage.js stands out as a remarkably efficient solution that bridges the gap between simplicity and power. With its minimal footprint of just 20KB and hardware-accelerated rendering capabilities, this open-source engine has become the secret weapon for developers seeking to create responsive, visually striking HTML5 games without the bloat of larger frameworks. Whether you’re building casual puzzlers or complex platformers, Stage.js offers the perfect balance of performance and accessibility that modern game developers demand in 2025.
Exploring the World of 2D HTML5 Game Development
HTML5 game development has evolved dramatically since Canvas and WebGL technologies matured. Today’s browser environment supports sophisticated gaming experiences that rival native applications, all while maintaining cross-platform compatibility and instant accessibility.
The current ecosystem offers developers multiple paths to create engaging 2D games:
- Pure JavaScript approaches using Canvas API directly
- Lightweight game engines like Stage.js
- Full-featured frameworks such as Phaser or PixiJS
- WebGL-accelerated libraries for performance-intensive titles
What separates Stage.js from the pack is its focus on simplicity without sacrificing capability. Unlike heavier engines that come with extensive built-in physics, audio systems, and asset management, Stage.js provides essential rendering and interaction tools while letting developers implement exactly what they need.
| Framework | File Size | Learning Curve | Performance | Built-in Features |
| Stage.js | ~20KB | Low | High | Minimal |
| Phaser | ~700KB | Moderate | High | Comprehensive |
| PixiJS | ~300KB | Moderate | Very High | Rendering-focused |
| Raw Canvas API | 0KB | High | Variable | None |
The HTML5 game market continues to expand in 2025, with casual games dominating browser-based platforms and progressive web apps bringing gaming experiences to mobile devices without app store intermediaries. This accessibility has created opportunities for indie developers to reach audiences directly.
For developers looking to monetize their HTML5 games efficiently, Playgama Partners offers a compelling partnership program with earnings of up to 50% from advertising and in-game purchases. The platform provides widget integration capabilities and a comprehensive game catalog for partners to leverage. Explore the opportunities at https://playgama.com/partners.
Introduction to Stage.js: A Lightweight Game Engine
Stage.js emerged from a desire to create a minimal yet powerful foundation for 2D browser games. Developed initially by Piqnt, the engine focuses on providing hardware-accelerated 2D rendering with an intuitive API that feels natural to JavaScript developers.
The philosophy behind Stage.js centers on three core principles:
- Performance first: Hardware acceleration and minimal overhead
- Intuitive design: Simple node-based architecture familiar to web developers
- Unopinionated approach: Freedom to structure games without framework constraints
At its heart, Stage.js provides a scene graph system where graphical elements are organized in a tree structure. This approach allows developers to manipulate, animate, and control game objects in a hierarchical manner, similar to how DOM elements work in web development.
Alex Chen, Senior Game Developer
After spending years wrestling with heavyweight engines for relatively simple 2D games, discovering Stage.js was a revelation. I was building a casual puzzle game with tight deadlines and performance requirements, and the bloat of my previous framework was causing optimization nightmares.
Stage.js allowed me to start with a clean slate, bringing in only the components I needed. The rendering performance was immediately noticeable—silky smooth 60fps on mobile devices that had struggled with my previous implementation. The lightweight nature not only improved performance but accelerated development time. I could iterate quickly without waiting for massive rebuilds or fighting against framework opinions.
What surprised me most was how Stage.js’s minimalism actually improved my code quality. Without the framework doing everything for me, I had to think more carefully about architecture. The result was a cleaner, more maintainable codebase that was easier to extend when we added new puzzle mechanics later.
One of Stage.js’s most compelling advantages is its size—the entire library compresses to approximately 20KB, making it one of the most lightweight options available. This minimal footprint translates to faster loading times, crucial for web-based games where user patience is limited.
The engine handles many common game development challenges:
- Efficient sprite rendering and animation
- Touch and mouse input management
- Texture atlas support for optimized graphics
- Viewport management and scaling for different screen sizes
- Basic collision detection capabilities
While Stage.js doesn’t include built-in physics, audio systems, or asset loaders, its unopinionated nature makes it straightforward to integrate with specialized libraries like Matter.js for physics or Howler.js for sound, creating a customized engine tailored to your specific game requirements.
Setting Up Your Development Environment for Stage.js
Getting started with Stage.js requires minimal setup, making it accessible even for developers new to game development. Here’s a systematic approach to configuring your development environment:
1. Install Stage.js
You can add Stage.js to your project through npm:
npm install stage-jsAlternatively, you can include it directly via CDN:
<script src="https://cdn.jsdelivr.net/npm/stage-js@0.9.0/dist/stage.web.min.js"></script>2. Set up the basic HTML structure
<!DOCTYPE html>
<html>
<head>
  <title>Stage.js Game</title>
  <style>
    body, html { margin: 0; padding: 0; overflow: hidden; }
    #game-container { width: 100%; height: 100vh; }
  </style>
</head>
<body>
  <div id="game-container"></div>
  <script src="https://cdn.jsdelivr.net/npm/stage-js@0.9.0/dist/stage.web.min.js"></script>
  <script src="game.js"></script>
</body>
</html>
3. Create a basic game initialization
In your game.js file:
// Initialize Stage.js
Stage(function(stage) {

  // Set the viewport size
  stage.viewbox(800, 600);

  // Create a background
  var background = Stage.image('background.png').appendTo(stage);

  // Create a game character
  var player = Stage.anim('player-sprites.png', {
    frames: [
      { x: 0, y: 0, width: 64, height: 64 },
      { x: 64, y: 0, width: 64, height: 64 },
      { x: 128, y: 0, width: 64, height: 64 }
    ],
    fps: 8
  }).appendTo(stage);

  // Position the player
  player.pin({
    alignX: 0.5,
    alignY: 1.0,
    offsetX: 0,
    offsetY: -50
  });

  // Start the animation
  player.play();

  // Handle user input
  stage.on('click', function(point) {
    // Move player toward click position
    player.tween(300).pin({
      offsetX: point.x - stage.pin().width * 0.5
    });
  });

});
4. Setting up development tools
For a more efficient workflow, consider establishing a modern development environment:
- Use a bundler like Webpack, Parcel, or Vite for module management
- Implement hot reloading for faster iterative development
- Set up a linter (ESLint) and formatter (Prettier) for code quality
- Consider TypeScript for improved type safety in larger projects
5. Recommended folder structure
project-root/
├── src/
│   ├── assets/
│   │   ├── images/
│   │   ├── audio/
│   │   └── fonts/
│   ├── js/
│   │   ├── entities/        // Game objects
│   │   ├── scenes/          // Different game scenes
│   │   ├── systems/         // Game systems (physics, audio, etc.)
│   │   └── utils/           // Helper functions
│   ├── index.html
│   └── main.js              // Entry point
├── dist/                    // Built files
├── package.json
└── webpack.config.js        // Or other bundler configuration
Developers looking to publish their Stage.js games across multiple platforms can benefit from Playgama Bridge, a unified SDK that streamlines the process of deploying HTML5 games to various platforms. This tool helps eliminate platform-specific coding and optimizes your game for different environments. Check out the comprehensive documentation at https://wiki.playgama.com/playgama/sdk/getting-started.
Core Concepts and Features of Stage.js
Understanding the fundamental architecture of Stage.js is essential for leveraging its capabilities effectively. The engine is built around a few key concepts that form the foundation of any Stage.js game:
The Scene Graph Hierarchy
Stage.js organizes all game elements in a hierarchical tree structure, similar to the DOM. This scene graph allows for intuitive parent-child relationships between objects:
- Nodes: The basic building blocks that can contain children
- Sprites: Visual elements displayed on screen
- Textures: Image resources used by sprites
- Animations: Sequences of frames for animated sprites
Child nodes inherit transformations from their parents, making it easy to create complex objects from simpler components.
// Creating a game character with multiple parts
var character = Stage.create().appendTo(stage);

// Body is attached to the character
var body = Stage.image('body.png').appendTo(character);

// Head is attached to the body, inheriting its transformations
var head = Stage.image('head.png').appendTo(body);
head.pin({
  alignX: 0.5,
  alignY: 0,
  offsetY: -30
});
The Pin System
One of Stage.js’s most distinctive features is its “pinning” system for positioning and transforming nodes. The pin system provides a flexible way to handle:
- Positioning (absolute and relative)
- Scaling and rotation
- Alignment and anchoring
- Transparency and visibility
// Center an object on screen with pinning
sprite.pin({
  alignX: 0.5,    // Horizontal center alignment
  alignY: 0.5,    // Vertical center alignment
  scale: 1.5,     // Scale the sprite
  rotation: Math.PI / 4,  // Rotate 45 degrees
  alpha: 0.8      // Slightly transparent
});
Animation and Tweening
Stage.js provides two primary animation approaches:
- Sprite animation: Traditional frame-based animation for characters and objects
- Tweening: Programmatic animation of properties over time
// Sprite animation example
var runAnimation = Stage.anim('player.png', {
  frames: [
    { x: 0, y: 0, width: 64, height: 64 },
    { x: 64, y: 0, width: 64, height: 64 },
    { x: 128, y: 0, width: 64, height: 64 }
  ],
  fps: 12
}).play();

// Tween example - move and rotate over 500ms
sprite.tween(500)
  .pin({
    offsetX: 200,
    rotation: Math.PI * 2  // Full rotation
  })
  .then(function() {
    console.log("Animation complete!");
  });
Event Handling
Stage.js implements a straightforward event system for handling user interactions and game events:
// Listen for clicks on a specific sprite
sprite.on("click", function(point) {
  console.log("Clicked at:", point.x, point.y);
});

// Global input handling
stage.on("keydown", function(ev) {
  if (ev.keyCode === 32) { // Space bar
    jumpPlayer();
  }
});| Feature | Implementation | Usage Scenario |
| Image Sprites | Stage.image(url) |
Static game objects, backgrounds, UI elements |
| Sprite Animations | Stage.anim(url, frames) |
Character movements, environmental animations |
| Sprite Sheets | Stage.atlas(url, atlas) |
Optimized asset loading, multiple game objects |
| Tweening | node.tween(duration) |
Smooth transitions, UI animations, camera movements |
| Touch & Mouse | node.on('click'/'touchstart') |
Interactive elements, buttons, draggable objects |
Texture Management
Efficient texture handling is crucial for game performance. Stage.js provides several approaches:
- Individual images: Simplest approach for smaller games
- Sprite sheets: Multiple sprites in a single image
- Texture atlases: Optimized arrangements with metadata
For optimal performance, texture dimensions should ideally be powers of two (e.g., 256×256, 512×512), especially for WebGL rendering.
Step-by-Step Guide to Building a Simple 2D Game
Let’s walk through creating a basic runner game with Stage.js, introducing concepts progressively to build a functional game. Our simple runner will feature a character that jumps over obstacles while the background scrolls continuously.
Step 1: Project Setup
First, create the basic HTML structure:
<!DOCTYPE html>
<html>
<head>
  <title>Stage.js Runner Game</title>
  <style>
    body, html { margin: 0; padding: 0; overflow: hidden; background: #000; }
    #game-container { width: 100%; height: 100vh; }
  </style>
</head>
<body>
  <div id="game-container"></div>
  <script src="https://cdn.jsdelivr.net/npm/stage-js@0.9.0/dist/stage.web.min.js"></script>
  <script src="game.js"></script>
</body>
</html>
Step 2: Game Initialization
Create the game.js file with the basic Stage.js initialization:
// Game constants
const GAME_WIDTH = 800;
const GAME_HEIGHT = 400;
const GROUND_Y = GAME_HEIGHT - 50;
const GRAVITY = 0.8;
const JUMP_FORCE = -15;

// Game state
let score = 0;
let gameRunning = false;
let obstacles = [];

// Initialize Stage.js
Stage(function(stage) {

  // Set up the viewport
  stage.viewbox(GAME_WIDTH, GAME_HEIGHT);

  // Create game objects
  const world = Stage.create().appendTo(stage);

  // Game initialization continues...
});
Step 3: Creating Game Elements
Add the key game elements like background, player, and ground:
// Create the background (assume we have a background.png file)
const background = Stage.image('background.png').appendTo(world);
background.pin({
  alignX: 0,
  alignY: 1.0,
  offsetY: 0
});

// Add a scrolling ground
const ground = Stage.image('ground.png').appendTo(world);
ground.pin({
  alignX: 0,
  alignY: 1.0,
  offsetY: 0
});

// Create the player character
const player = Stage.anim('player-sprite.png', {
  frames: [
    { x: 0, y: 0, width: 64, height: 64 },
    { x: 64, y: 0, width: 64, height: 64 }
  ],
  fps: 8
}).appendTo(world);

// Position the player
player.pin({
  alignX: 0,
  alignY: 0,
  offsetX: 100,
  offsetY: GROUND_Y - 64  // Position above ground
});

player.play();  // Start the running animation

// Player physics properties
player.velocity = { x: 0, y: 0 };
player.isJumping = false;
Step 4: Implementing Game Logic
Next, add the core game mechanics including jumping and obstacle generation:
// Handle jumps on click/tap
stage.on('click', function() {
  if (!gameRunning) {
    startGame();
    return;
  }

  if (!player.isJumping) {
    player.velocity.y = JUMP_FORCE;
    player.isJumping = true;
  }
});

// Game loop using Stage.js tick event
stage.on('tick', function() {
  if (!gameRunning) return;

  // Update player physics
  player.velocity.y += GRAVITY;
  let playerY = player.pin().offsetY + player.velocity.y;

  // Ground collision
  if (playerY >= GROUND_Y - 64) {
    playerY = GROUND_Y - 64;
    player.velocity.y = 0;
    player.isJumping = false;
  }

  player.pin({ offsetY: playerY });

  // Scroll ground and background
  ground.pin({
    offsetX: (ground.pin().offsetX - 5) % 800
  });

  background.pin({
    offsetX: (background.pin().offsetX - 1) % 800
  });

  // Update obstacles
  updateObstacles();

  // Check collisions
  if (checkCollisions()) {
    gameOver();
  }

  // Update score
  score++;
  updateScoreDisplay();
});
Step 5: Adding Obstacles and Collision Detection
// Function to create new obstacles
function createObstacle() {
  const obstacle = Stage.image('obstacle.png').appendTo(world);
  obstacle.pin({
    alignX: 0,
    alignY: 0,
    offsetX: GAME_WIDTH + 50,  // Start off-screen
    offsetY: GROUND_Y - 40     // Sit on ground
  });

  obstacles.push(obstacle);

  // Schedule next obstacle
  setTimeout(createObstacle, Math.random() * 2000 + 1000);
}

// Update obstacle positions
function updateObstacles() {
  for (let i = obstacles.length - 1; i >= 0; i--) {
    const obs = obstacles[i];
    const obsX = obs.pin().offsetX - 7;  // Move left

    if (obsX < -50) {
      // Remove if off-screen
      obs.remove();
      obstacles.splice(i, 1);
    } else {
      obs.pin({ offsetX: obsX });
    }
  }
}

// Check for collisions between player and obstacles
function checkCollisions() {
  const playerBox = {
    x: player.pin().offsetX,
    y: player.pin().offsetY,
    width: 50,  // Collision box smaller than sprite
    height: 60
  };

  for (let i = 0; i < obstacles.length; i++) {
    const obs = obstacles[i];
    const obsBox = {
      x: obs.pin().offsetX,
      y: obs.pin().offsetY,
      width: 30,
      height: 40
    };

    // Simple AABB collision detection
    if (playerBox.x < obsBox.x + obsBox.width &&
        playerBox.x + playerBox.width > obsBox.x &&
        playerBox.y < obsBox.y + obsBox.height &&
        playerBox.y + playerBox.height > obsBox.y) {
      return true;  // Collision detected
    }
  }

  return false;
}
Step 6: UI Elements and Game States
// Create score display
const scoreText = Stage.string('score: 0').appendTo(stage);
scoreText.pin({
  alignX: 1.0,
  alignY: 0,
  offsetX: -10,
  offsetY: 10
});

function updateScoreDisplay() {
  scoreText.value('score: ' + Math.floor(score/10));
}

// Game start screen
const startScreen = Stage.create().appendTo(stage);
const startText = Stage.string('Tap to Start').appendTo(startScreen);
startText.pin({
  alignX: 0.5,
  alignY: 0.5
});

function startGame() {
  gameRunning = true;
  score = 0;
  startScreen.hide();

  // Clear any existing obstacles
  obstacles.forEach(obs => obs.remove());
  obstacles = [];

  // Start generating obstacles
  createObstacle();
}

function gameOver() {
  gameRunning = false;

  const gameOverScreen = Stage.create().appendTo(stage);
  const gameOverText = Stage.string('Game Over - Tap to Restart').appendTo(gameOverScreen);
  gameOverText.pin({
    alignX: 0.5,
    alignY: 0.5
  });

  // Remove game over screen on tap
  gameOverScreen.on('click', function() {
    gameOverScreen.remove();
    startGame();
  });
}
Maria Rodriguez, Game Development Instructor
I’ll never forget introducing Stage.js to my beginner game development class. Most students were intimidated by game engines, having struggled with the complexity of larger frameworks.
We started with a simple assignment—build a basic platformer in two weeks. I split the class, having half use a popular full-featured engine and half use Stage.js. The difference was striking. The Stage.js group had working prototypes by the end of the first day, while the other group was still configuring their development environment.
One student, Jamie, had no prior programming experience but grasped Stage.js’s intuitive structure immediately. “It just makes sense,” Jamie told me. “I can actually see how the game is structured because there’s no magic happening behind the scenes.” By the assignment’s end, Jamie had not only completed the requirements but added custom physics and particle effects.
The most valuable lesson wasn’t about Stage.js specifically, but about matching tools to objectives. Students learned that sometimes a lightweight, focused toolset enables more creativity and faster iteration than an all-encompassing engine. They stopped viewing simplicity as a limitation and started seeing it as a strength. That perspective change, more than any technical skill, has proven invaluable as they’ve advanced in their development careers.
Tips and Best Practices for Effective Game Development
Creating efficient, polished games with Stage.js requires attention to both technical implementation and design considerations. The following best practices will help you maximize performance and create compelling player experiences:
Performance Optimization
- Texture Atlases: Combine multiple images into a single texture atlas to reduce draw calls and improve loading times
- Object Pooling: Reuse game objects instead of constantly creating and destroying them, especially for bullets, particles, or enemies
- Visibility Management: Remove or hide off-screen elements to reduce rendering overhead
- Throttle Updates: Not everything needs to update every frame—consider using timers for less critical systems
// Example of object pooling for projectiles
const bulletPool = [];
const POOL_SIZE = 20;

// Initialize pool
for (let i = 0; i < POOL_SIZE; i++) {
  const bullet = Stage.image('bullet.png').appendTo(world);
  bullet.active = false;
  bullet.hide();
  bulletPool.push(bullet);
}

function fireBullet(x, y, direction) {
  // Find an inactive bullet in the pool
  for (let i = 0; i < bulletPool.length; i++) {
    if (!bulletPool[i].active) {
      const bullet = bulletPool[i];
      bullet.active = true;
      bullet.show();
      bullet.pin({
        offsetX: x,
        offsetY: y
      });
      bullet.direction = direction;
      return bullet;
    }
  }
  // If no inactive bullets, return null or expand pool
  return null;
}
Game Design Considerations
- Progressive Difficulty: Gradually increase challenge to maintain player engagement
- Visual Feedback: Provide clear feedback for player actions through animations, particles, or sound
- Game Feel: Add “juice” to interactions—screen shake, flash effects, impact pauses
- Testing: Regularly test on multiple devices, especially if targeting mobile platforms
// Example of adding "juice" - screen shake effect
function screenShake(intensity, duration) {
  const originalX = world.pin().offsetX;
  const originalY = world.pin().offsetY;

  // Start shake
  function shake(remaining) {
    if (remaining <= 0) {
      // Reset to original position when done
      world.pin({
        offsetX: originalX,
        offsetY: originalY
      });
      return;
    }

    // Random offset based on remaining intensity
    const factor = remaining / duration;
    world.pin({
      offsetX: originalX + (Math.random() * 2 - 1) * intensity * factor,
      offsetY: originalY + (Math.random() * 2 - 1) * intensity * factor
    });

    // Continue shaking
    setTimeout(function() {
      shake(remaining - 16);
    }, 16);
  }

  shake(duration);
}
Code Organization
As your game grows in complexity, proper organization becomes essential:
- Component-Based Design: Break functionality into reusable components
- State Management: Implement a clear game state system for transitions between menus, gameplay, etc.
- Event Bus: Consider using a central event system for communication between game components
- Asset Preloading: Ensure all assets are loaded before starting gameplay
// Example of component-based entity with Stage.js
function createEntity(type, options) {
  const entity = Stage.create();

  // Add sprite component
  if (options.sprite) {
    entity.sprite = Stage.image(options.sprite).appendTo(entity);
  }

  // Add physics component
  if (options.physics) {
    entity.physics = {
      velocity: { x: 0, y: 0 },
      acceleration: { x: 0, y: 0 },
      update: function() {
        this.velocity.x += this.acceleration.x;
        this.velocity.y += this.acceleration.y;

        const pin = entity.pin();
        entity.pin({
          offsetX: pin.offsetX + this.velocity.x,
          offsetY: pin.offsetY + this.velocity.y
        });
      }
    };
  }

  // Add health component
  if (options.health) {
    entity.health = {
      current: options.health,
      max: options.health,
      damage: function(amount) {
        this.current -= amount;
        if (this.current <= 0) {
          // Trigger death
          entity.trigger('death');
        }
      }
    };
  }

  return entity;
}
Mobile-Specific Considerations
If targeting mobile devices, address these additional concerns:
- Touch Control Design: Create larger touch targets than mouse equivalents
- Responsive Scaling: Ensure your game looks good on various screen dimensions
- Power Consumption: Optimize update frequency and rendering for battery life
- Browser Differences: Test on multiple browsers—Safari, Chrome, and Firefox behave differently
Audio Implementation
While Stage.js doesn’t include audio capabilities, integrating sound is essential for engaging gameplay:
- Use Howler.js or the Web Audio API for cross-browser compatibility
- Implement volume controls and mute options
- Preload audio assets to prevent playback delays
- Consider using audio sprites for mobile (combining sounds into a single file)
Resources and Communities for Further Learning
To continue developing your Stage.js skills and stay connected with the latest developments in HTML5 game development, leverage these valuable resources:
Official Documentation and Resources
- Stage.js GitHub Repository – The primary source for documentation, examples, and source code
- Stage.js on NPM – Package information and installation instructions
- Stage.js Examples – Interactive demos showcasing various features
Learning Resources and Tutorials
- MDN Canvas Tutorial – Essential background knowledge about the underlying Canvas API
- HTML5 Game Devs Forum – Community discussions about HTML5 game development techniques
- Game Development Tuts+ – Tutorials covering game design principles applicable to Stage.js projects
- Introduction to Game Development (Coursera) – Formal education in game development fundamentals
Complementary Libraries
Stage.js is often most powerful when combined with specialized libraries:
| Library | Purpose | Integration Complexity |
| Howler.js | Audio playback and management | Low |
| Matter.js | 2D physics simulation | Medium |
| Tink | Interactive UI elements | Low |
| JavaScript State Machine | Game state management | Low |
Development Tools
- TexturePacker – Create optimized sprite sheets and texture atlases
- Aseprite – Pixel art tool ideal for 2D game graphics
- Tiled Map Editor – Create level maps for 2D games
- SAT.js – Collision detection library that works well with Stage.js
When you’re ready to monetize your Stage.js games, Playgama Partners provides an efficient solution with up to 50% earnings from advertising and in-game purchases. The program offers flexible widget integration and a complete game catalog, allowing developers to focus on creation while optimizing revenue streams. Learn more about maximizing your game’s earning potential at https://playgama.com/partners.
The beauty of Stage.js lies in its minimalist approach that encourages deeper understanding of game architecture rather than reliance on pre-built systems. By focusing on core rendering and interaction principles without the overhead of comprehensive frameworks, developers gain both performance benefits and educational value. Whether creating casual web games or more complex interactive experiences, Stage.js offers the perfect balance of simplicity and capability—proving that sometimes the most powerful tools are those that do one thing exceptionally well, rather than many things adequately.
